How To Paint a Stained Glass Themed Piece Using Sharpies
Once again Sharpies are the go-to artistic product. The ink is transparent and permanent and creates a stunning effect on glass.
To make the stained glass plate in the picture above you will need:
1) Glass plate - If you'd like to make a stained glass plate like the one pictured above, you will place your picture face down onto the front of the plate so you can see your picture through to the backside and begin tracing. You will be drawing onto the wrong side (back side of glass) so that the plate can be used to serve on. However, you may only want to use it for decoration and then it won't really matter what side you use to draw on.
If you are going to make a candle holder, you will need a piece of glass that's open enough to have a piece of paper inserted into it so you can draw your stained glass outline on the side that's facing out (more about where to get your images below).
I like to buy my glass pieces at Dollar Tree, for you guessed it, a dollar! However, you can also purchase glass pieces in bulk if you'd like them delivered to your door for a reasonable cost.
2) Sharpies, the best artistic pen ever (oops, I think I said that already!). The ink is permanent, so prepping the glass is not necessary. Once it dries, the ink does not rub off the glass, love this feature of Sharpies. It might take a day or two for the ink to really dry permanently where it can not be smudged off by pushing on it with a cloth.
 |
| http://amzn.to/1OCRYTW |
In addition, the ink dries transparently so the color just comes through when there is a candle or light placed inside. Gorgeous effect for a candle votive. (Is there anything a Sharpie can't do???, lol!)
3) A picture of a printed stained glass scene that you would like to transfer to your glass piece. The way that I get pictures is through an image search on Google. Try the following method:
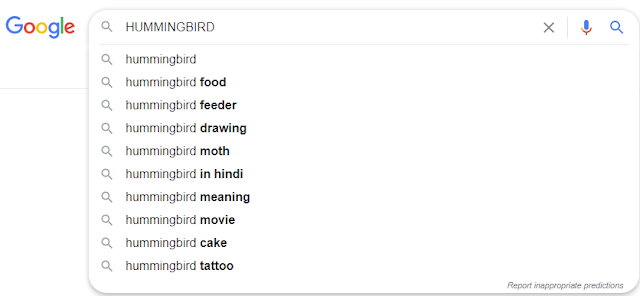
- Type words into Google that have to do with what you want your picture to be of. i.e. If you like dragonflies, type 'dragonfly stained glass' into your Google search box.
In the images of the plates I made, I typed 'hummingbird stained glass' and 'peacock stained glass' to get my image choices. There are so many to pick from you might have a problem deciding on which one to try first!
- When the results come up, select 'Images' from the choices directly below the search box.
- In another window, open up a word processing document.
- Go back to your dragonfly images, select a picture you would like to transfer.
- Left click on the image, it should make the image bigger. Right click over the larger image that you see.
- Select 'Copy Image'.
- Go back to your Word Processing document. Right click with your mouse on the blank document, click 'Paste'. Your stained glass picture will appear.
- Resize the picture using your mouse by clicking on the outside line of your stained glass picture, so as to fit your glass piece you will be making.
- Print your picture. It doesn't matter if it you only have a black and white printer, however, save your word document with your picture in color for reference when you are painting it with your Sharpie markers.
- If you are making the candleholder, then take your printed picture and place it inside your glass piece so that you can see the image from the outside. Use scotch tape to secure it so that it doesn't move while you are tracing the outline of your picture with your black fine point Sharpie. If you are making the plate, then tape the picture face down on the front part of the plate and draw on the back (the part of the plate that will touch the table).
- Trace your image with your black Sharpie.
- Let the ink dry for about a half an hour just to make sure you don't smudge the black with your colored Sharpies.
- Color in your image with your Sharpies (you might want to use the broad tip Sharpies for this part, or perhaps the ultra fine tip for smaller pictures depending on how intricate your design is). Again let it dry for an hour or so. Within a day the colors will be really secure so much so that you will not be able to rub them off with your fingers.
- At this point, you can seal your colors onto the glass using a foam paint brush and Mod Podge, which is basically a glue that dries transparently. If you would like to, sprinkle some fine irridescant glitter over the wet Mod Podge for an added effect and more sparkle. However, I don't think this part is necessary to keep the color on the glass.
- If you made the candle holder, then take a small candle and place it inside your painted glass and watch the beautiful colors shine through!
 |
| This luminary could be made without a picture inserted because it is just squares and circles, you could use a ruler... this is just beautiful! |


Comments
Post a Comment